Run the downloaded installation package. Then run the MKV to iPad Converter and the operator interface like this will show up.
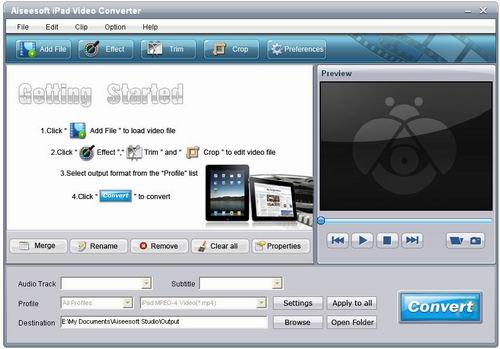
Step 1: Add files
Click the “Add File” button on the toolbar. And choose the MKV file to input in the dialogue box.
Step 2: Choose output format, folder and adjust settings
Choose the preferred audio track and subtitle. Click the Profile drop-down button and select the output format. Choose a destination file in the dialogue box showed up after clicking the “Browse” button.

Aiseesoft MKV to iPad Converter also allowed you to adjust some further settings, such as Video Encoder, Resolution, Audio Sample Rate, etc. And these operations can be done in the settings interface. It can show up by clicking the “Settings” button.
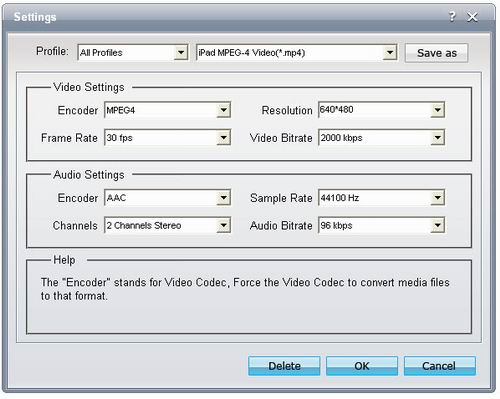
Take the Video Encoder for example, you can open Encoder drop-down list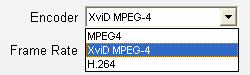 and you can choose the Video Encoder as you need. After adjust all these settings, click the “OK” button.
Step 3: Start converting MPEG to iPad
Click the button to convert MKV to iPad.
Furthermore, Aiseesoft MKV to iPad Converter provides you with powerful editing functions, such as cropping, trimming, merging and watermarking. With these functions, you can make a personalized output video.
Now download the MKV to iPad Converter and have a try.
没有评论:
发表评论